


What are the best practices for vacuum - casting operations?
Sep 03, 2025
Leave a message
As a seasoned provider of vacuum casting services, I've witnessed firsthand the transformative impact this manufacturing technique can have on product development. Vacuum casting is a highly versatile process that allows for the production of high-quality, low-volume parts with excellent detail and surface finish. In this blog post, I'll share some of the best practices for vacuum casting operations based on my years of experience in the industry.
1. Mold Design and Preparation
The first step in any successful vacuum casting operation is the design and preparation of the mold. The mold plays a crucial role in determining the quality and accuracy of the final part. Here are some key considerations when designing and preparing a mold for vacuum casting:
- Material Selection: Choose a mold material that is compatible with the casting resin and can withstand the vacuum and pressure conditions during the casting process. Silicone rubber is a popular choice for vacuum casting molds due to its flexibility, durability, and ability to capture fine details.
- Mold Design: Design the mold to ensure proper venting and gate placement. Venting is essential to allow air to escape from the mold cavity during the casting process, preventing the formation of air bubbles and voids in the final part. Gate placement should be carefully considered to ensure uniform filling of the mold cavity and minimize the formation of weld lines.
- Mold Surface Finish: The surface finish of the mold can have a significant impact on the surface finish of the final part. A smooth, polished mold surface will result in a high-quality, defect-free part. Consider using a mold release agent to prevent the casting resin from sticking to the mold surface and make it easier to remove the part from the mold.
2. Resin Selection and Mixing
The choice of casting resin is another critical factor in the success of a vacuum casting operation. Different resins have different properties, such as viscosity, hardness, and flexibility, which can affect the casting process and the final part quality. Here are some tips for selecting and mixing the right resin for your application:
- Understand Your Application Requirements: Before selecting a resin, it's important to understand the specific requirements of your application. Consider factors such as the part's intended use, environmental conditions, and mechanical properties. For example, if you need a part that is flexible and impact-resistant, you may want to choose a polyurethane resin. If you need a part that is rigid and heat-resistant, you may want to choose an epoxy resin.
- Follow the Manufacturer's Instructions: When mixing the resin, it's important to follow the manufacturer's instructions carefully. This includes measuring the resin and hardener accurately, mixing them thoroughly, and allowing the mixture to cure for the recommended amount of time. Improper mixing can result in a weak, brittle part or a part with poor surface finish.
- Degas the Resin: To remove any air bubbles from the resin mixture, it's recommended to degas the resin before pouring it into the mold. This can be done using a vacuum chamber or a degassing machine. Degassing the resin will help to ensure a high-quality, defect-free part.
3. Vacuum Casting Process
The vacuum casting process involves several steps, including mold preparation, resin mixing, pouring, and curing. Here are some best practices for each step of the process:
- Mold Preparation: Before pouring the resin into the mold, make sure the mold is clean, dry, and free of any debris. Apply a mold release agent to the mold surface to prevent the casting resin from sticking to the mold.
- Resin Mixing: Mix the resin and hardener according to the manufacturer's instructions. Use a stir stick or a mixing paddle to ensure thorough mixing. Degas the resin mixture to remove any air bubbles.
- Pouring: Pour the degassed resin mixture into the mold slowly and carefully, starting from one end of the mold and working your way to the other. Avoid pouring the resin too quickly, as this can cause air bubbles to form in the mold cavity.
- Vacuum Application: Once the resin has been poured into the mold, place the mold in a vacuum chamber and apply a vacuum to remove any remaining air bubbles from the resin. The vacuum should be applied for the recommended amount of time, typically 5-10 minutes.
- Curing: After the vacuum has been applied, remove the mold from the vacuum chamber and allow the resin to cure for the recommended amount of time. The curing time will depend on the type of resin used and the temperature and humidity conditions.
4. Post-Casting Processing
After the resin has cured, the part can be removed from the mold and subjected to post-casting processing. Post-casting processing may include trimming, sanding, painting, or assembly. Here are some best practices for post-casting processing:
- Trimming: Use a sharp knife or a pair of scissors to trim any excess resin from the part. Be careful not to damage the part during the trimming process.
- Sanding: Sand the part using a fine-grit sandpaper to smooth out any rough edges or surfaces. Sanding can also help to improve the part's surface finish.
- Painting: If desired, the part can be painted using a suitable paint or coating. Make sure the part is clean and dry before applying the paint. Follow the manufacturer's instructions for applying the paint and allow it to dry completely.
- Assembly: If the part is part of an assembly, it can be assembled using suitable adhesives or fasteners. Make sure the parts are properly aligned and secured during the assembly process.
5. Quality Control
Quality control is an essential part of any vacuum casting operation. By implementing a comprehensive quality control program, you can ensure that the final parts meet the required specifications and quality standards. Here are some key quality control measures to consider:

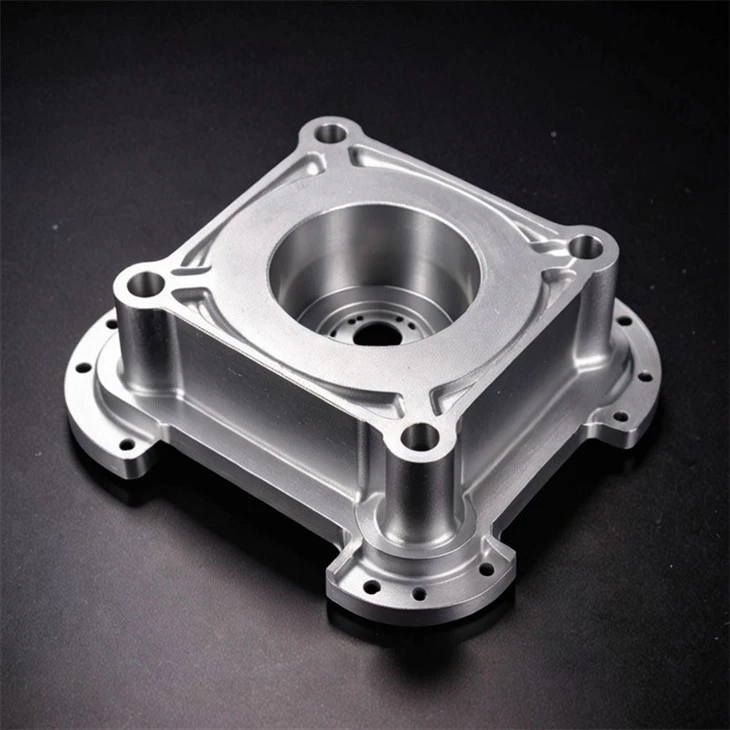
- Inspection: Inspect the parts visually for any defects, such as air bubbles, voids, or surface imperfections. Use a magnifying glass or a microscope to inspect the parts more closely.
- Dimensional Inspection: Use a caliper or a micrometer to measure the dimensions of the parts and ensure they meet the required specifications. Make sure to measure the parts at multiple points to ensure accuracy.
- Mechanical Testing: If required, perform mechanical testing on the parts to ensure they meet the required mechanical properties, such as strength, hardness, and flexibility. Mechanical testing can be performed using a variety of testing equipment, such as a tensile tester or a hardness tester.
Conclusion
Vacuum casting is a powerful manufacturing technique that can be used to produce high-quality, low-volume parts with excellent detail and surface finish. By following the best practices outlined in this blog post, you can ensure the success of your vacuum casting operations and produce parts that meet the required specifications and quality standards.
If you're interested in learning more about our Vacuum Casting Metal Services, Vacuum Casting Aluminum Services, or Vacuum Mold Casting Services, please don't hesitate to contact us. We'd be happy to discuss your specific requirements and provide you with a quote.
References
- "Vacuum Casting: A Comprehensive Guide." Manufacturing.net.
- "Best Practices for Vacuum Casting." PlasticsToday.
- "Vacuum Casting Process and Applications." Engineering.com.
Send Inquiry